Guides / Getting started
How a guide is built
The pattern every guide in this knowledge base follows: numbered steps, real screenshots from the demo workspace, and callouts on the control the step names.
What you need first
- Nothing. This page is about the guides themselves.
- A Casework workspace, if you want to follow the screens
Every guide here is written by driving the product and photographing what happens. Nothing is drawn, nothing is mocked up and no screen is described from memory. This page is the pattern, and W6 replaces it with the first real guide for this section.
Steps are numbered, and each one is a heading
A step is one thing a reader does. It carries its own heading, so it appears in the page outline, it has an anchor a link can point at, and the search box over the guides finds it by name.
A screenshot is the real screen, with the callouts drawn over it
This is the Specs tab of a project in the demo workspace, at 1280, exactly as
scripts/site-shots.mts took it. The two marks are placed at percentages of the
picture, so they stay on the control they name at every width, and the legend
under the picture repeats them as words. Each one sits beside the control it
names rather than on top of it, which is the rule: a marker that covers the
label a reader is looking for has hidden the answer.
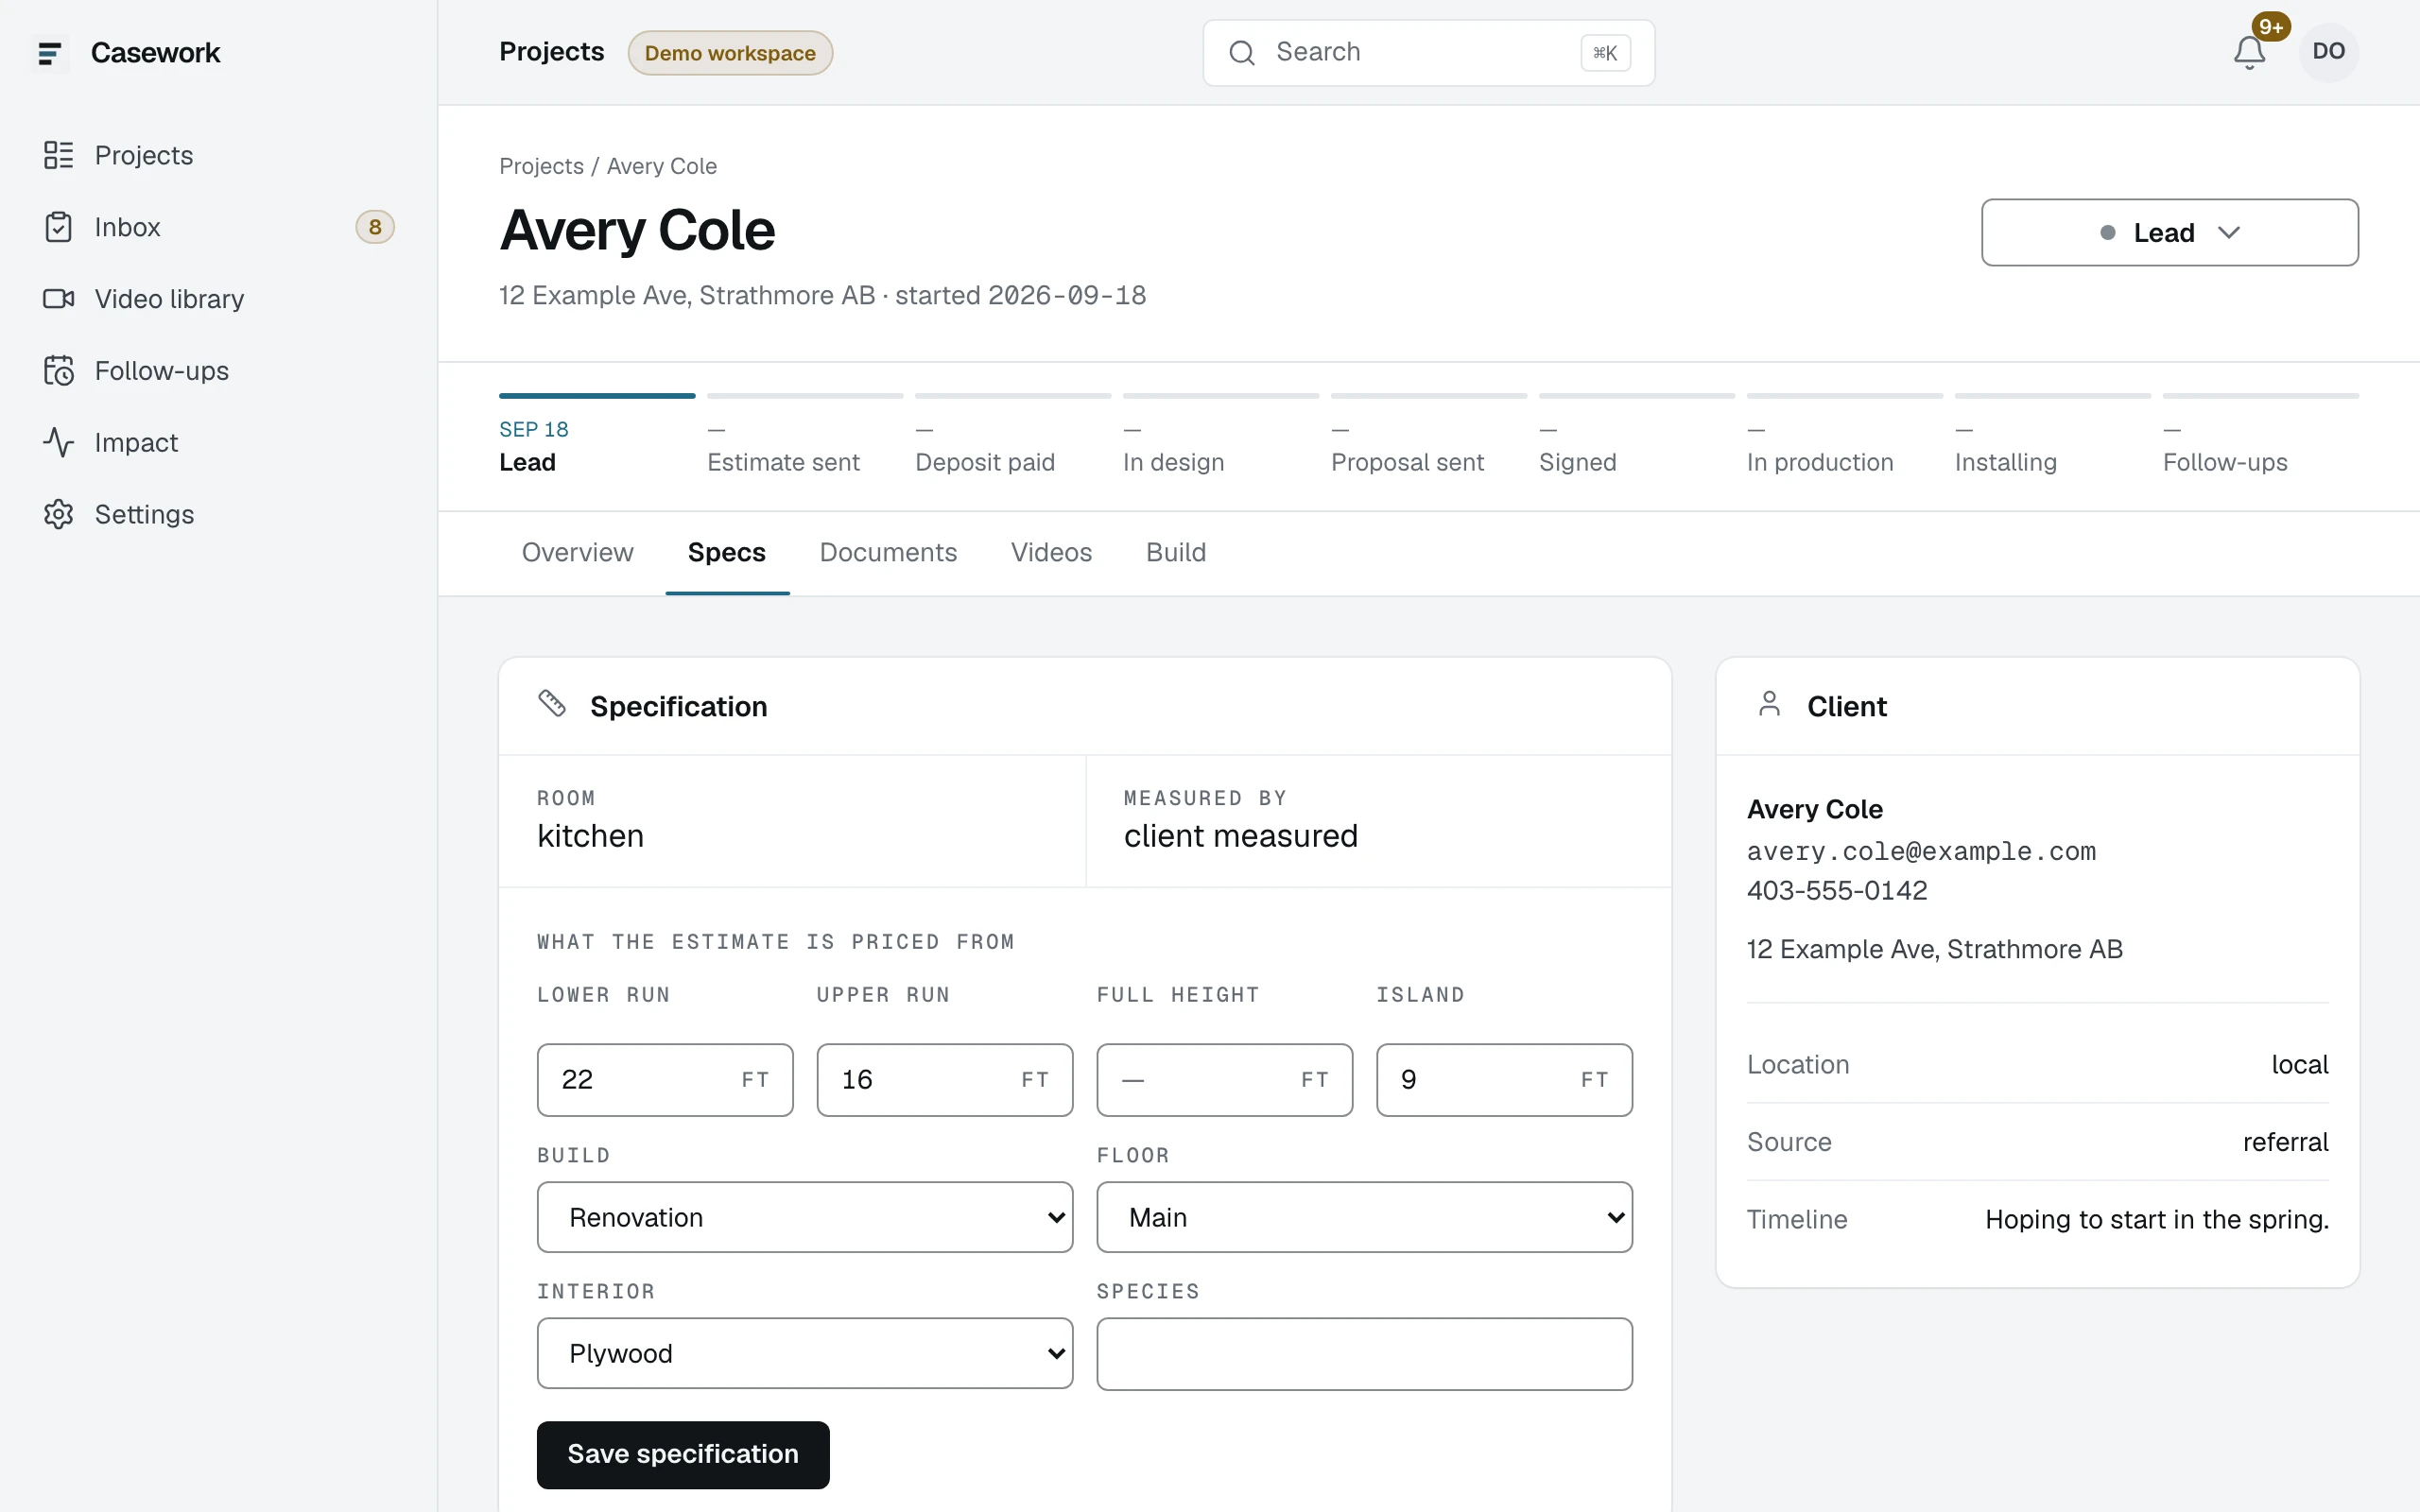
- 1The Specs tab, where a job's room, measurements and finishes live
- 2Lower run, in feet. The estimate is priced from these three runs
The card above the specification is hidden in this frame. It prints a live magic-link URL in full, and a token is a credential that does not belong on a public page.
One picture per screen the step is about
A step that has no screen has no picture. A step that has one gets the screen it names and nothing else, cropped to the card rather than the whole window when the card is the subject. Crop wherever you can: a picture of a whole 1280 window is 312 pixels wide on a phone, and no label in it can be read at that size. The picture is a link to the file for the times a whole window is the point.
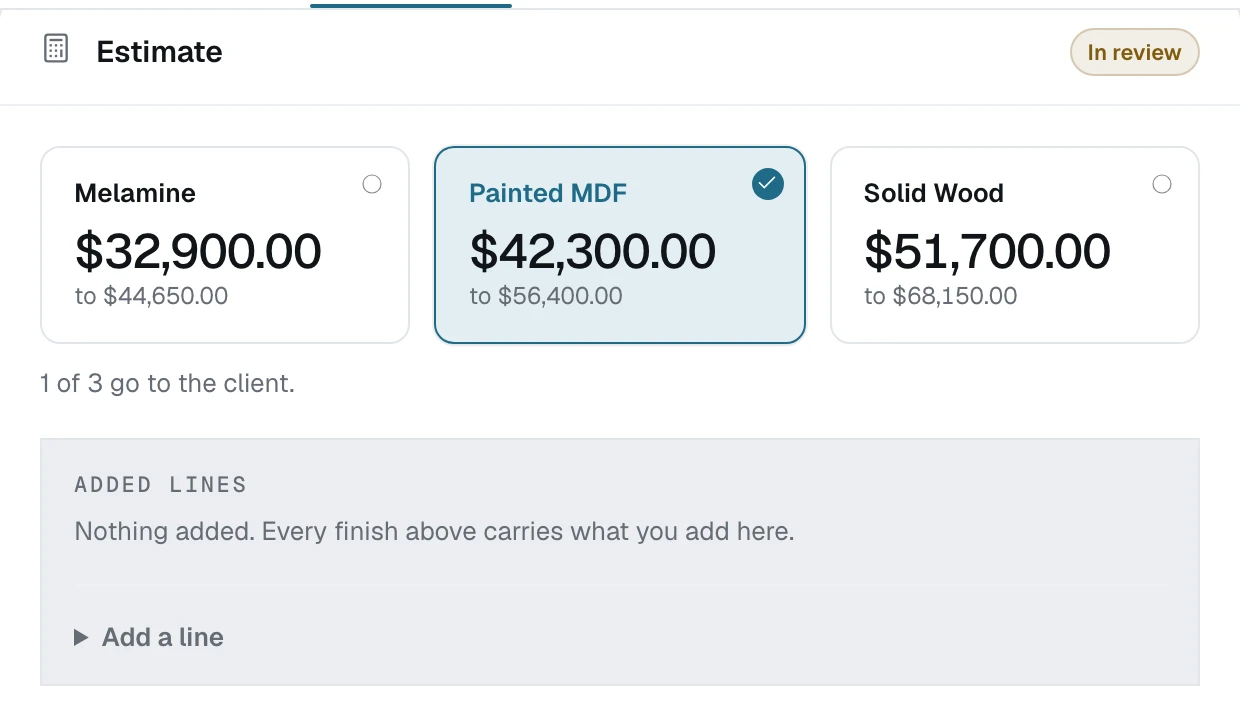
- 1Tick the families this client sees. One, two or all three
What you need first sits at the top
The box above the first step comes from the guide's own frontmatter, so a reader who has not set up their rates finds that out before step one rather than at step four.
What W6 writes
Ten sections: Getting started, Rates, Clients and intake, Estimates, Design
agreement, Proposals, Videos, Care and aftercare, Inbox and phone, Settings and
team. The list lives in src/lib/site/content.ts, so the sidebar and the folder
names cannot drift apart, and a guide filed under a section that is not on it
fails npm test.
Adding a screenshot means adding a row to the table at the top of
scripts/site-shots.mts and running npm run site-shots guides. The file lands
in public/site/shots/guides/, the manifest records its size, and a guide that
names a picture nobody captured fails the build rather than printing a hole.